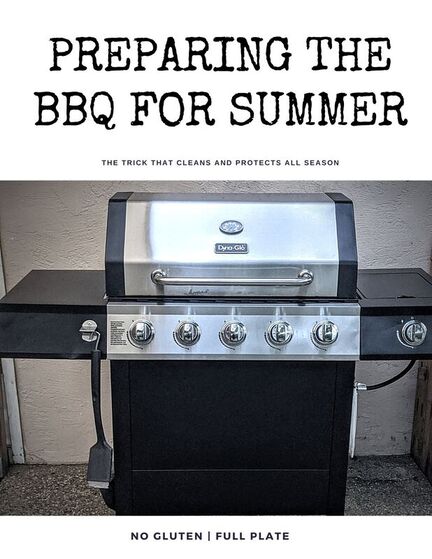
 Summer is here and if you are like me that means lots of cooking on the BBQ Grill! A couple of years ago I convinced my sweet husband that if I could have one with a side burner that it would make my jam making and other preserving things go better and we would not have to make a mess in our tiny kitchen - instead I could make the mess outside and then hose things off if it got too out of control. Not to mention that I had replaced the igniter, grates, and other parts on the 15 year old one we had been using and was looking at a lot of rust that wasn't going away.  When we first bought it I did some research and came across some golden nuggets of wisdom.. USE WD40 all over the inside and outside to CLEAN and PROTECT the BBQ I had NEVER hear of this before and was skeptical at best, but gave it a try.
Not only did it make the Q nice and shiny, but it also made any little scuffs from being in the box disappear. It was like magic. In order to make sure we did't get nasty fumes and chemicals in our food, I made sure to also turn on the grill and let it get raging hot - there was a lot of smoke at first, but that died down and has been using a towel to wipe the inside super easy. So, at the end of the summer I now use the WD40 to clean off any of the sauces or other sticky messes that weren't cleaned up well and make sure to give the lid and other parts a good liberal spray and wipe before putting on the cover. We use the Q a few times in the winter, but not a lot. Then, in the spring, when I start planting my crops in the garden, I make sure to give the grill another liberal spray and wipe. Give it a try!
0 Comments
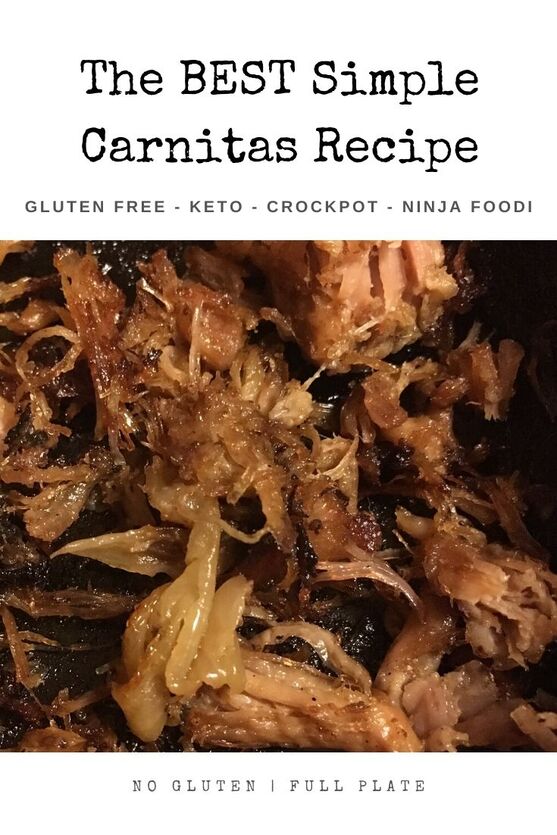 This post is an update from December 2018 I have included TWO recipes below, because I recently got a Ninja Foodi and use it for ALL the things, You can choose your cooking method, but the ingredients are exactly the same! I don't know what your family does for Cinco De Mayo, but in my house we eat something delicious, easy, and likely in the form of a taco. But, you know how much time I have this week with finals approaching? Exactly NONE! So, today, I am making my favorite carnitas recipe. It's simple, and takes only about 10 minutes to prep but smells and tastes like way more time and effort. This recipe is one I found about 10 years ago and even though I lost the recipe and now just wing it, it has become a family favorite. I served it at my Dad's 60th birthday party along with my Kahlua pork on rolls and everyone asked for the recipes. It's perfect for a crowd, or just because. IF you somehow end up with leftovers, make sure to add a bit of the juices to your container. This way, you can add it to a skillet and reheat without the meat losing its juicy yummy flavor. 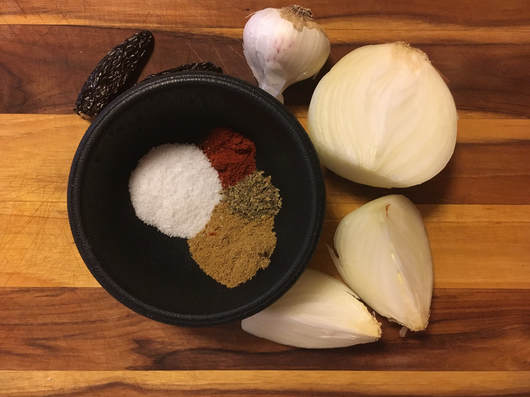 Ingredients1 3-4lb. boneless pork butt or shoulder, cut into about 2-inch chunks 2 t salt 2 dried jalepeno peppers (can sub 1 t chili powder) 1 t dried cumin 1/2 t dried oregano 1 large yellow onion, quartered 2 T minced garlic There is no need to add any liquid as the juices released from the meat and steam created with the lid atop the crockpot are what will cook the proteins and break down the structure of the meat. 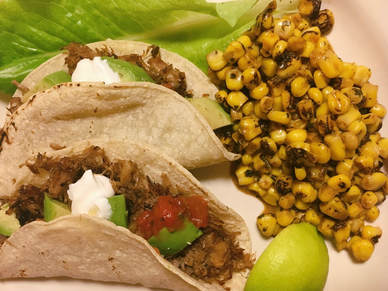 Slow Cooker Directions
Ninja Foodi Directions
Shred and serve in any application you like (tacos, sandwiches, tamales, burritos, with rice and beans, etc) the possibilities are endless. As you can see we made tacos, but we sometimes make a pineapple cream cheese and slaw then use that on bread to make sandwiches. I've also been known to add bbq sauce to leftovers for pulled pork sandwiches. Talk about making your mouth happy! Xoxo, Michelle |

Michelle Grubbs: Wife. Stepmom to 3. Student. Tutor and Coach.
AuthorI'm Michelle, and I've got a full plate! As a full-time dietetics student, step-mom, wife, study coach, and tutor in my late 30's, some days I'm barely scraping by. But, no matter what is on my plate, it's always gluten free! Categories
All
Archives
August 2020
|
