 Why didn't anyone tell me earlier how easy it is to brew your own kombucha?! If you can brew tea, use a stirring spoon, and have a spot in your house that is warm and out of direct sunlight, you officially meet all of the criteria for being your very own brew master. There are a bunch of books on the market that have recipes and instructions by people that have been doing this waaay longer than I have. I'm not going to pretend to be an expert on the subject. I'm sooooooooo NOT! But, I have been playing around with my second ferment flavors and stumbled upon a few that I love and cannot get enough of. My jar SetupAfter brewing the tea in a large, slightly more than a gallon jar and letting it ferment, I transfer the liquid to smaller jars to make multiple flavors during the second ferment. Well, I did.. until I realized that there were a couple of flavors that I loved and wanted to have more of all the daggon time! I was lucky to have a gallon size mason-style jar that we used to store my tea bags in when there were more kids home and we all had favorite flavors cuz that many boxes was just nuts in my tiny cabinets, so I use that for the brewing. Or, other times I use another glass jar that maybe at some time in a past life was a pickle jar. Neither of them have lids, and that is okay because when brewing, I just cover the jars with an old cloth napkin affixed with a rubber band so that air gets in and out, but no bugs can ruin the party. My smaller jars are either mason jars outfitted with plastic lids and special gaskets, or recycled kombucha bottles (GT or Kirkland) from when I was buying it. I have not spent a lot of money on this delicious hobby. There was that one time I did buy that jar heater which all but boiled a scoby into oblivion.. I do not advise letting your sweet babies get over 95 degrees unless you want to scrounge up another scoby someplace. I try to keep mine right about 75-82 degrees which sometimes means I have the jar heater near the jar, but not wrapped around it so that it is more of an ambient heater... Additionally, after a couple of tries with flavorings I wanted to remove some of the fruit chunks and yeasty strands from the liquid, so I bought some "nut bags" from Amazon that are used primarily by people that are making their own almond, cashew, or oat milks at home. They have been a GREAT investment! 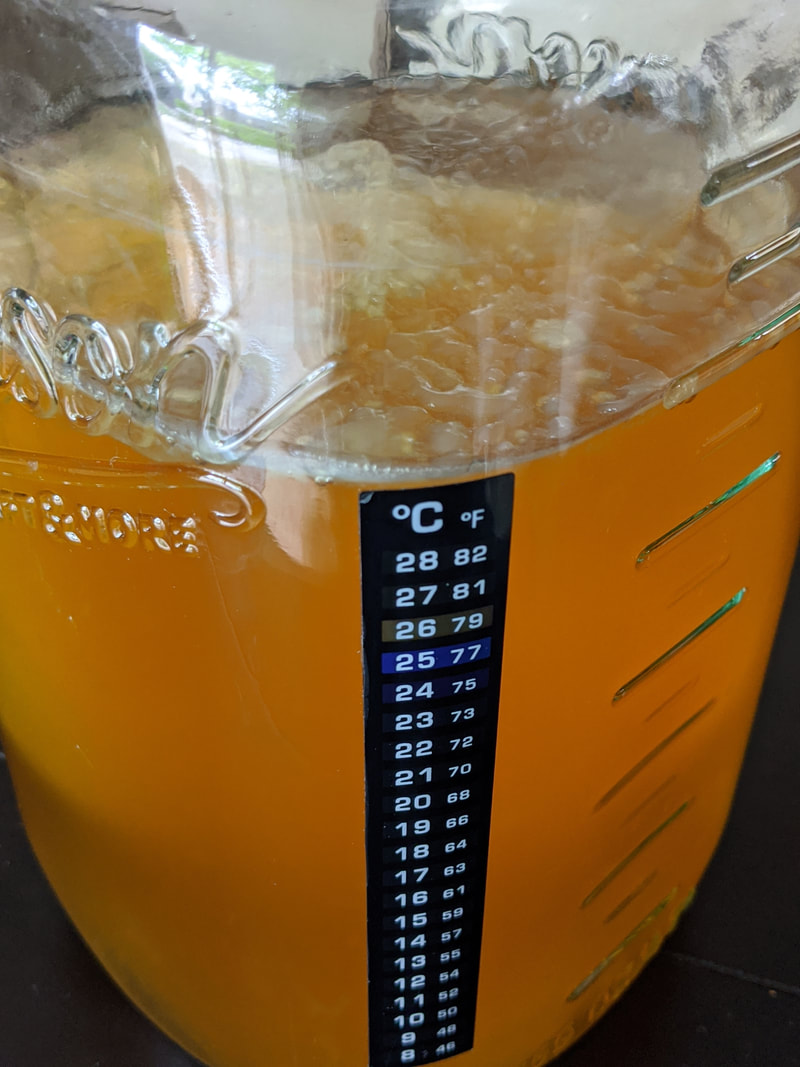 During the second ferment, I add my ingredients, then make sure that the jars are full with no more than a half inch of head space so that the carbon dioxide can build up and carbonate the beverage. They sit for at least 2 days, sometimes 3 depending on the depth of flavor I am looking for. Ultimately, I let my nose tell me when it is done, or use an old medicine dropper to pull out a couple of drops to taste. After the second ferment, but before refrigerating, I run my kombucha through a nut bag, funnel it into jars and then let the jars sit at room temperature another 24 hours to rebuild the carbonation. Mango Ginger Lime1 gallon liquid from first ferment 1 1/2 tablespoons grated ginger 2 ripe mangoes with skin removed and then diced 1/2 cup lime juice + the zest of 1 lime Lemon Ginger Cayenne1 gallon liquid from first ferment 1 cup fresh squeezed lemon juice 1 1/2 tablespoons grated ginger 1/8 teaspoon ground cayenne All the Citrus1 gallon liquid from first ferment 1/3 cup lemon juice 1/3 cup grapefruit juice 1/3 cup any other citrus juice I have on hand Guava Coconut1 gallon liquid from first ferment 1 cup canned guava nectar 1/2 cup coconut water Plum Vanilla1 gallon liquid from first ferment 1/4 cup plum jam (mine is homemade from my huge plum trees) 1/2 teaspoon pure vanilla extract I hope you get a chance to try some of these flavors soon, and share your favorite flavors below in the comments! XO, Michelle
0 Comments
Having your own garden is the most amazing thing. Every year I plant zucchini and inevitably there is that one that somehow I didn't see that ends up being about the size of a football before I finally pick it. What are you supposed to do with that, you say? Well, if your family is anything like mine and love pizza, it is the perfect opportunity to use this stuff up. 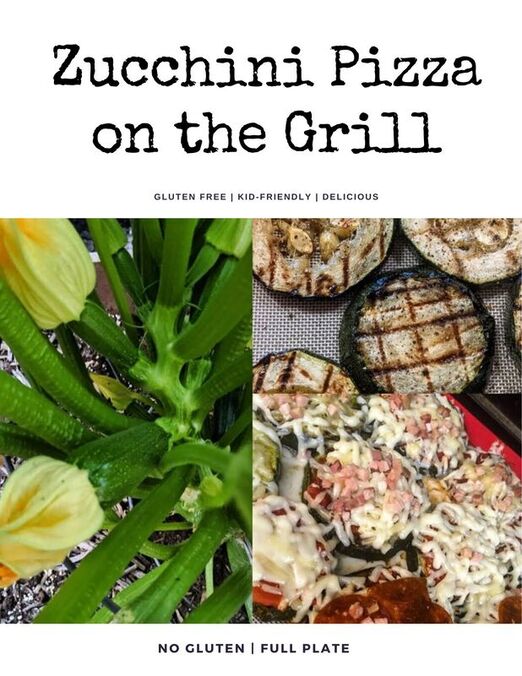 My 14 year old is dedicated to the idea that he absolutely detests zucchini. However, as he was eating this, he remarks that it was incredibly good, as long as he didn't think about it being zucchini. Hahahah So, with that in mind I thought I would give you this recipe to help on those days where you just don't even know where to begin with it. 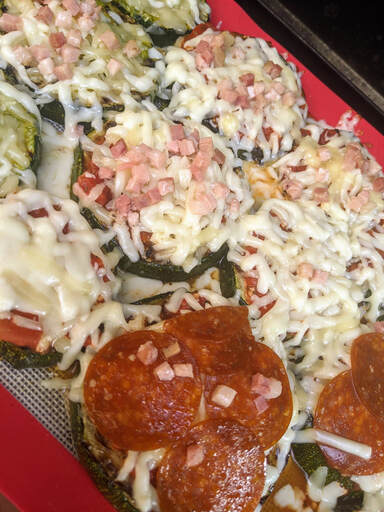 Ingredients
Directions
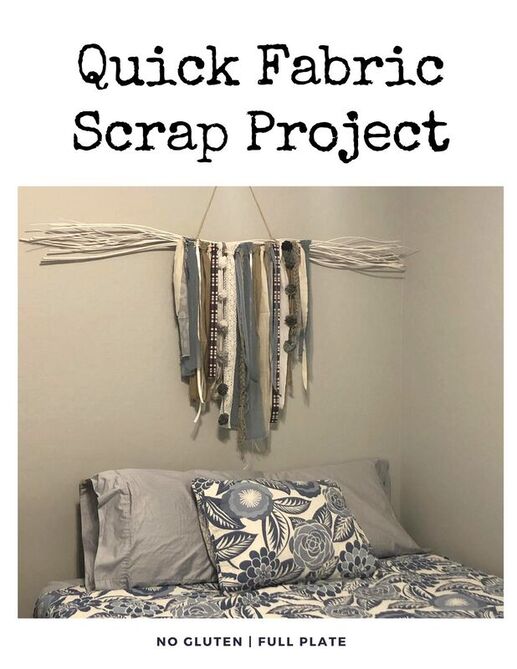 During the pandemic I took a post-semester road-trip to Las Vegas and stayed with my friend Liz for about 3 weeks. One day wanting to get out of the house once things had officially reopened, we donned our masks and walked through IKEA. It was there that we were inspired to recreate a piece of artwork we had seen in one of the little showrooms. It literally looks like a stick that they had tied ribbon onto. So, as we were passing through the plants department just before the warehouse started, we noticed some decorative kinda curly sticks and picked them up. That was the base. Next, we looked at the fabric scraps we had following our exciting mask-making adventures and came up with a color scheme. Not having quite enough texture, I took a trip to Jo-Ann Fabric and scrounged around In the clearance department to find some other items to finish things up. I scored some amazing deals purchased an eighth of a yard of a couple of fabric as well as spools of ribbon and skeins of yarn. (And maybe I got a few more quarters and such to make more masks with) 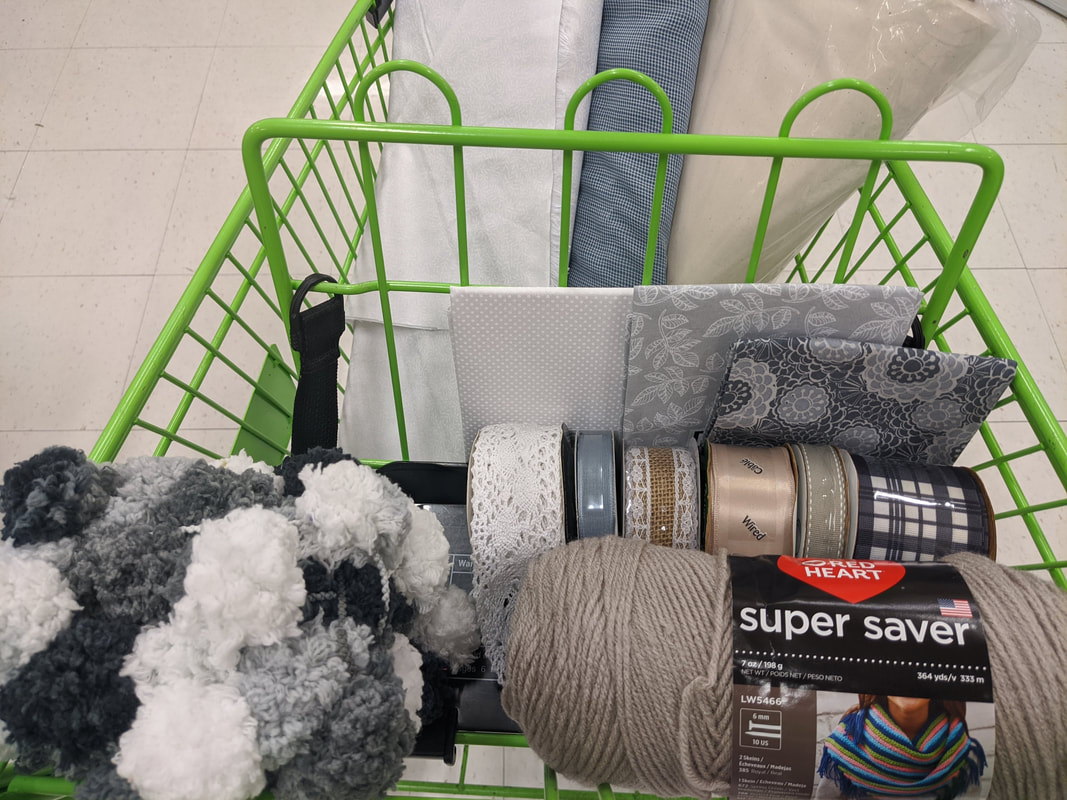 I knew that I really wanted there to be cohesiveness, but not a mirroring on each side. The idea of it being a little bit longer then on each side was quite appealing as well. So, I worked from the middle and slowly added bits of fabric, lace, ribbon, and yarn until I was satisfied with the way it looked. Then, I cut pieces that needed to be cut before hanging it on the wall. Normally I would not call myself very crafty, but in this case, I think I pulled it off!! 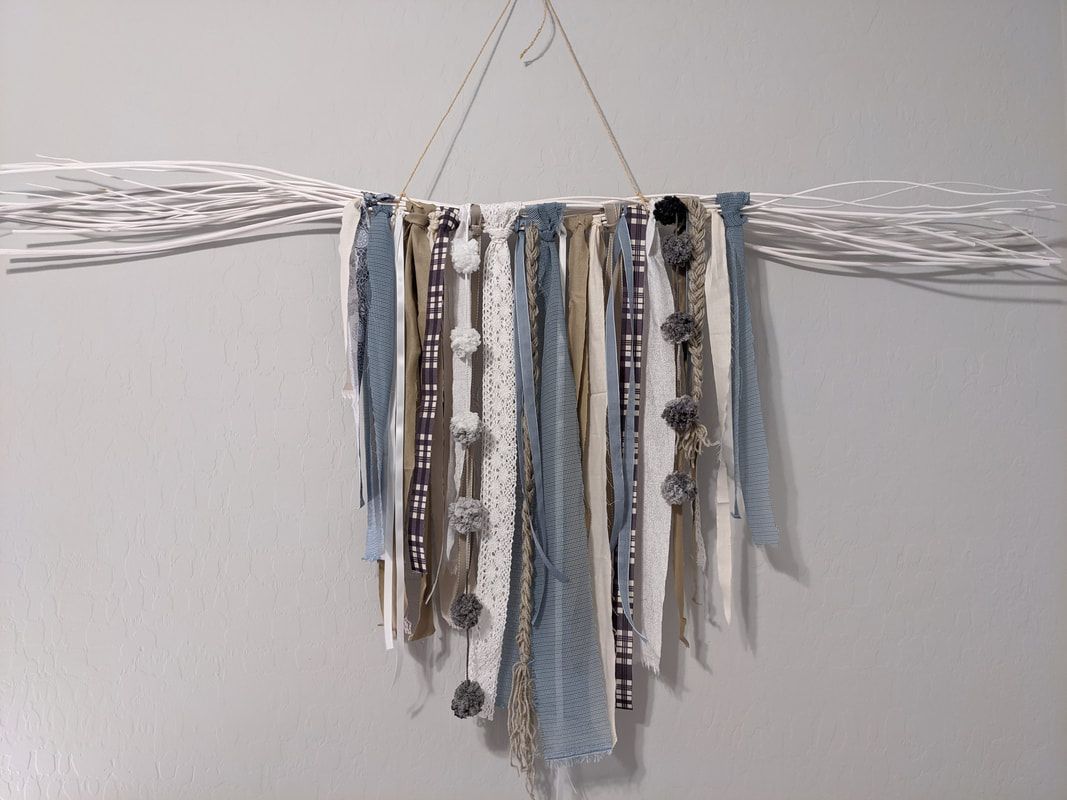 |

Michelle Grubbs: Wife. Stepmom to 3. Student. Tutor and Coach.
AuthorI'm Michelle, and I've got a full plate! As a full-time dietetics student, step-mom, wife, study coach, and tutor in my late 30's, some days I'm barely scraping by. But, no matter what is on my plate, it's always gluten free! Categories
All
Archives
August 2020
|
