|
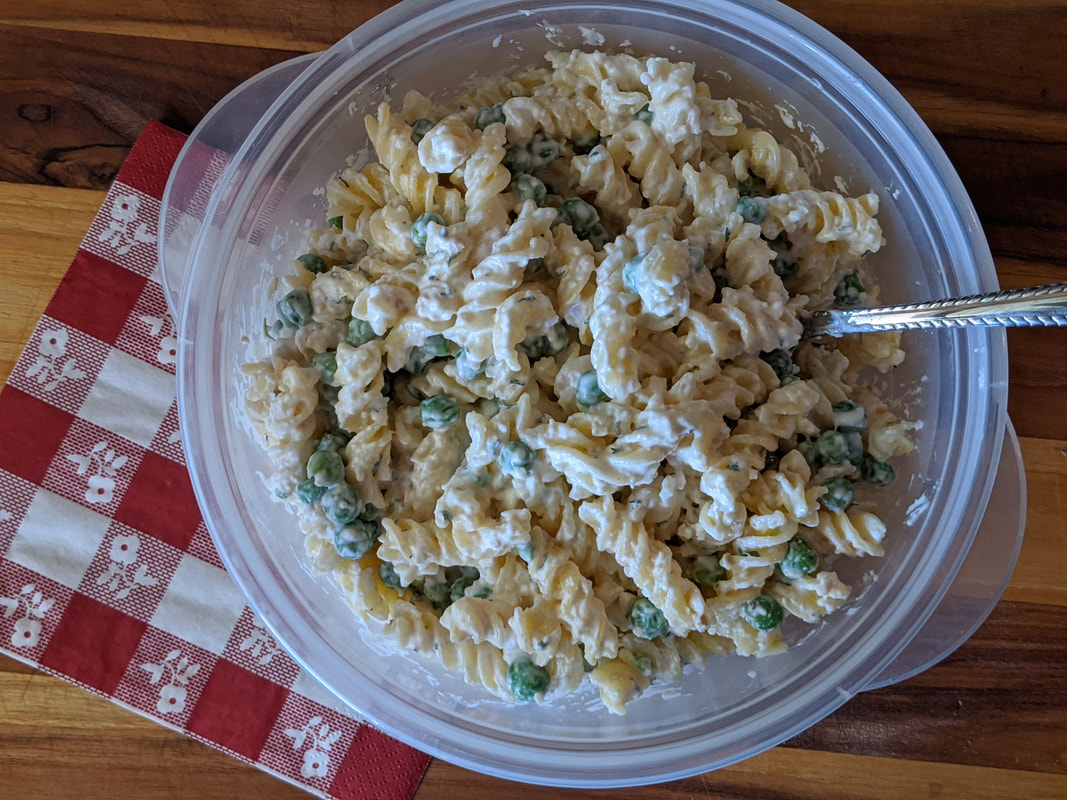
In the early 2000's one of my massage therapy clients went to the local co-op and came in just after eating this salad and raved about it for about 20 minutes (while simultaneously smelling of garlic). A couple months later when they were in for another appointment, they brought some for me to try; IT. WAS. AMAZING!!! For a long time after I wondered how it was made, and struggled to duplicate it. Then, a friend worked at the same co-op and got me the recipe which has since been lost, but I knew the basic gist and was able to make it my own. This is a favorite for family gatherings, potlucks, or when my husband and I are craving something packed with flavor.  Ingredients
Directions
 I hope you enjoy!
XO, Michelle
1 Comment
 Why didn't anyone tell me earlier how easy it is to brew your own kombucha?! If you can brew tea, use a stirring spoon, and have a spot in your house that is warm and out of direct sunlight, you officially meet all of the criteria for being your very own brew master. There are a bunch of books on the market that have recipes and instructions by people that have been doing this waaay longer than I have. I'm not going to pretend to be an expert on the subject. I'm sooooooooo NOT! But, I have been playing around with my second ferment flavors and stumbled upon a few that I love and cannot get enough of. My jar SetupAfter brewing the tea in a large, slightly more than a gallon jar and letting it ferment, I transfer the liquid to smaller jars to make multiple flavors during the second ferment. Well, I did.. until I realized that there were a couple of flavors that I loved and wanted to have more of all the daggon time! I was lucky to have a gallon size mason-style jar that we used to store my tea bags in when there were more kids home and we all had favorite flavors cuz that many boxes was just nuts in my tiny cabinets, so I use that for the brewing. Or, other times I use another glass jar that maybe at some time in a past life was a pickle jar. Neither of them have lids, and that is okay because when brewing, I just cover the jars with an old cloth napkin affixed with a rubber band so that air gets in and out, but no bugs can ruin the party. My smaller jars are either mason jars outfitted with plastic lids and special gaskets, or recycled kombucha bottles (GT or Kirkland) from when I was buying it. I have not spent a lot of money on this delicious hobby. There was that one time I did buy that jar heater which all but boiled a scoby into oblivion.. I do not advise letting your sweet babies get over 95 degrees unless you want to scrounge up another scoby someplace. I try to keep mine right about 75-82 degrees which sometimes means I have the jar heater near the jar, but not wrapped around it so that it is more of an ambient heater... Additionally, after a couple of tries with flavorings I wanted to remove some of the fruit chunks and yeasty strands from the liquid, so I bought some "nut bags" from Amazon that are used primarily by people that are making their own almond, cashew, or oat milks at home. They have been a GREAT investment! 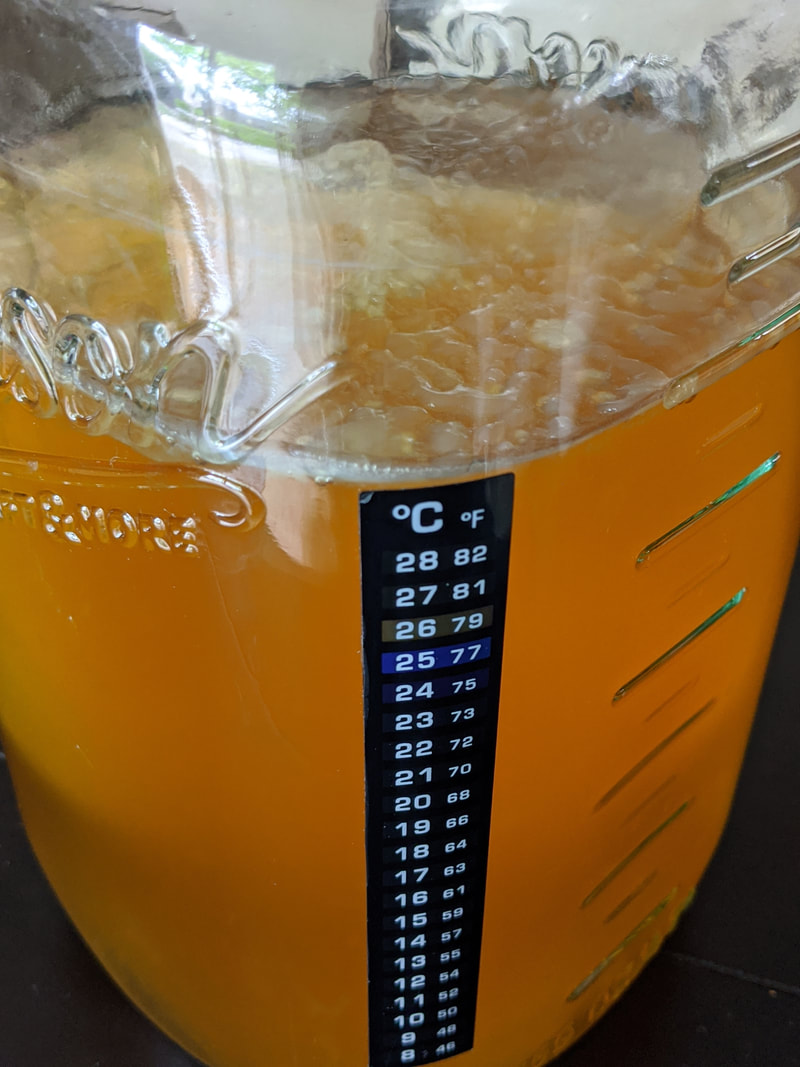 During the second ferment, I add my ingredients, then make sure that the jars are full with no more than a half inch of head space so that the carbon dioxide can build up and carbonate the beverage. They sit for at least 2 days, sometimes 3 depending on the depth of flavor I am looking for. Ultimately, I let my nose tell me when it is done, or use an old medicine dropper to pull out a couple of drops to taste. After the second ferment, but before refrigerating, I run my kombucha through a nut bag, funnel it into jars and then let the jars sit at room temperature another 24 hours to rebuild the carbonation. Mango Ginger Lime1 gallon liquid from first ferment 1 1/2 tablespoons grated ginger 2 ripe mangoes with skin removed and then diced 1/2 cup lime juice + the zest of 1 lime Lemon Ginger Cayenne1 gallon liquid from first ferment 1 cup fresh squeezed lemon juice 1 1/2 tablespoons grated ginger 1/8 teaspoon ground cayenne All the Citrus1 gallon liquid from first ferment 1/3 cup lemon juice 1/3 cup grapefruit juice 1/3 cup any other citrus juice I have on hand Guava Coconut1 gallon liquid from first ferment 1 cup canned guava nectar 1/2 cup coconut water Plum Vanilla1 gallon liquid from first ferment 1/4 cup plum jam (mine is homemade from my huge plum trees) 1/2 teaspoon pure vanilla extract I hope you get a chance to try some of these flavors soon, and share your favorite flavors below in the comments! XO, Michelle Having your own garden is the most amazing thing. Every year I plant zucchini and inevitably there is that one that somehow I didn't see that ends up being about the size of a football before I finally pick it. What are you supposed to do with that, you say? Well, if your family is anything like mine and love pizza, it is the perfect opportunity to use this stuff up.  My 14 year old is dedicated to the idea that he absolutely detests zucchini. However, as he was eating this, he remarks that it was incredibly good, as long as he didn't think about it being zucchini. Hahahah So, with that in mind I thought I would give you this recipe to help on those days where you just don't even know where to begin with it.  Ingredients
Directions
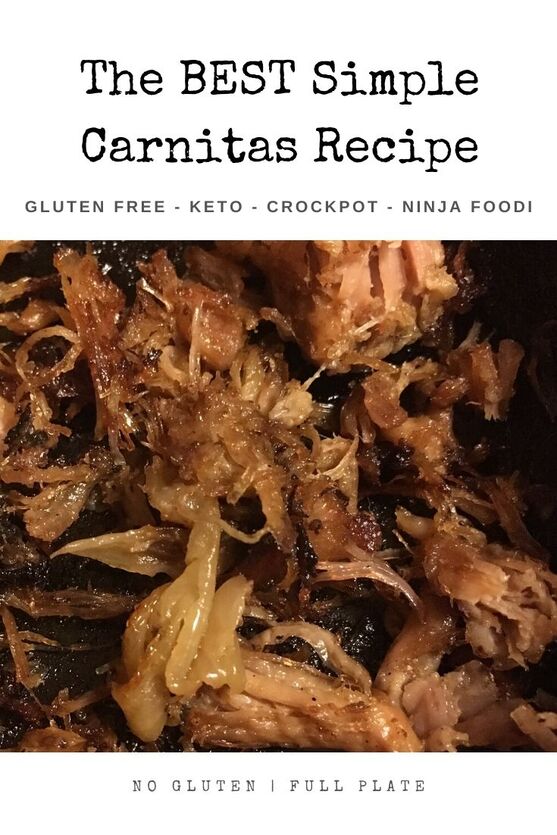 This post is an update from December 2018 I have included TWO recipes below, because I recently got a Ninja Foodi and use it for ALL the things, You can choose your cooking method, but the ingredients are exactly the same! I don't know what your family does for Cinco De Mayo, but in my house we eat something delicious, easy, and likely in the form of a taco. But, you know how much time I have this week with finals approaching? Exactly NONE! So, today, I am making my favorite carnitas recipe. It's simple, and takes only about 10 minutes to prep but smells and tastes like way more time and effort. This recipe is one I found about 10 years ago and even though I lost the recipe and now just wing it, it has become a family favorite. I served it at my Dad's 60th birthday party along with my Kahlua pork on rolls and everyone asked for the recipes. It's perfect for a crowd, or just because. IF you somehow end up with leftovers, make sure to add a bit of the juices to your container. This way, you can add it to a skillet and reheat without the meat losing its juicy yummy flavor. 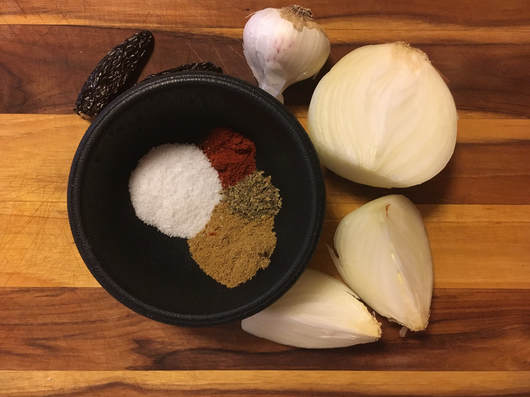 Ingredients1 3-4lb. boneless pork butt or shoulder, cut into about 2-inch chunks 2 t salt 2 dried jalepeno peppers (can sub 1 t chili powder) 1 t dried cumin 1/2 t dried oregano 1 large yellow onion, quartered 2 T minced garlic There is no need to add any liquid as the juices released from the meat and steam created with the lid atop the crockpot are what will cook the proteins and break down the structure of the meat. 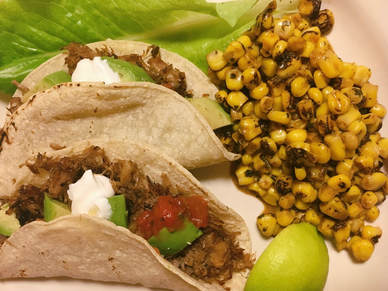 Slow Cooker Directions
Ninja Foodi Directions
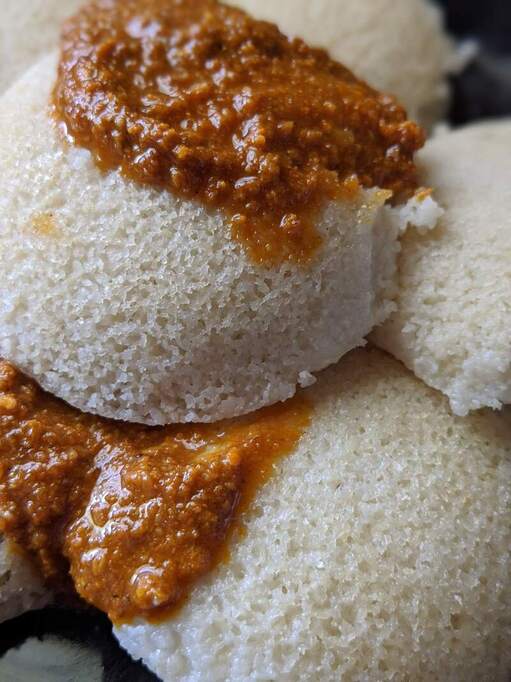
Shred and serve in any application you like (tacos, sandwiches, tamales, burritos, with rice and beans, etc) the possibilities are endless. As you can see we made tacos, but we sometimes make a pineapple cream cheese and slaw then use that on bread to make sandwiches. I've also been known to add bbq sauce to leftovers for pulled pork sandwiches. Talk about making your mouth happy! Xoxo, Michelle 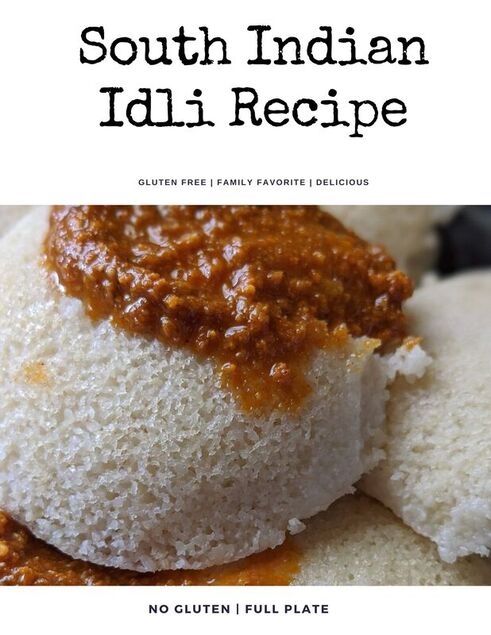 One of the things I miss the most about being gluten-free is sourdough bread! There's something about the dense texture, little air pockets, and fermented taste that just makes my heart sing. I have tried to make gluten free sourdough on multiple occasions, but never seem to be able to replicate the flavors that I used to love so much. A few years ago I worked with a large population of people from South Asia. They introduced me to a variety of new foods, and helped me find brand new favorites! The first time I saw Idli, pronounced eedillee, I was at a lunch buffet at an Indian food restaurant. At first, I was unimpressed with the white round discs, but one bite changed my attitude! It was, for the first time in over 5 years, the closest thing I had tasted to sourdough bread! It took me sometime after that to find anyone who would even attempt to teach me how to make my own at home, but eventually I found someone who was was willing to teach me her ways, take me shopping, and help me get the required materials. Traditionally, these are eaten for breakfast in Southern India, but I can personally eat them any time of the day or night. 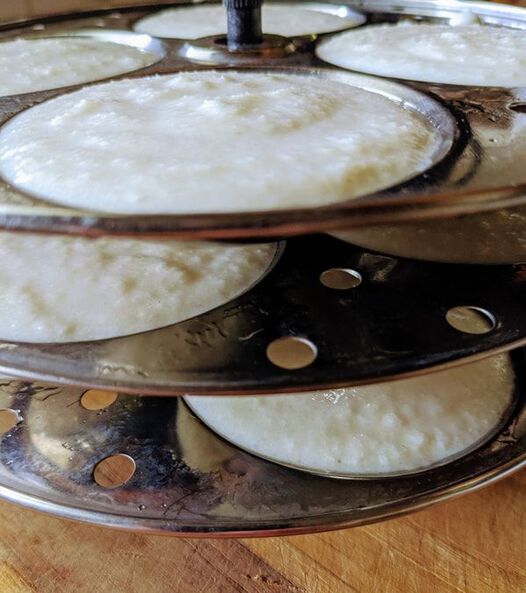 Finding a really good Indian grocery store is imperative! If you do not have one nearby, Amazon does carry a number of the things that you need, but to get the most fresh and delicious end product, you will want to find a store that has good turnover. I happen to live in an area with a lot of people from South India, so there are a number of stores for me to choose from, and I have been able to find brands that I like better than others. As for the Idli stands, at the time, they were only available at an Indian Grocery store. They come in 2 sizes, regular and mini - I prefer the regular size because it means less work - I have a Hawkins brand and another that was a gift from a friend whose mother had an extra set, but the stainless steel Tabakh brand is also really good. 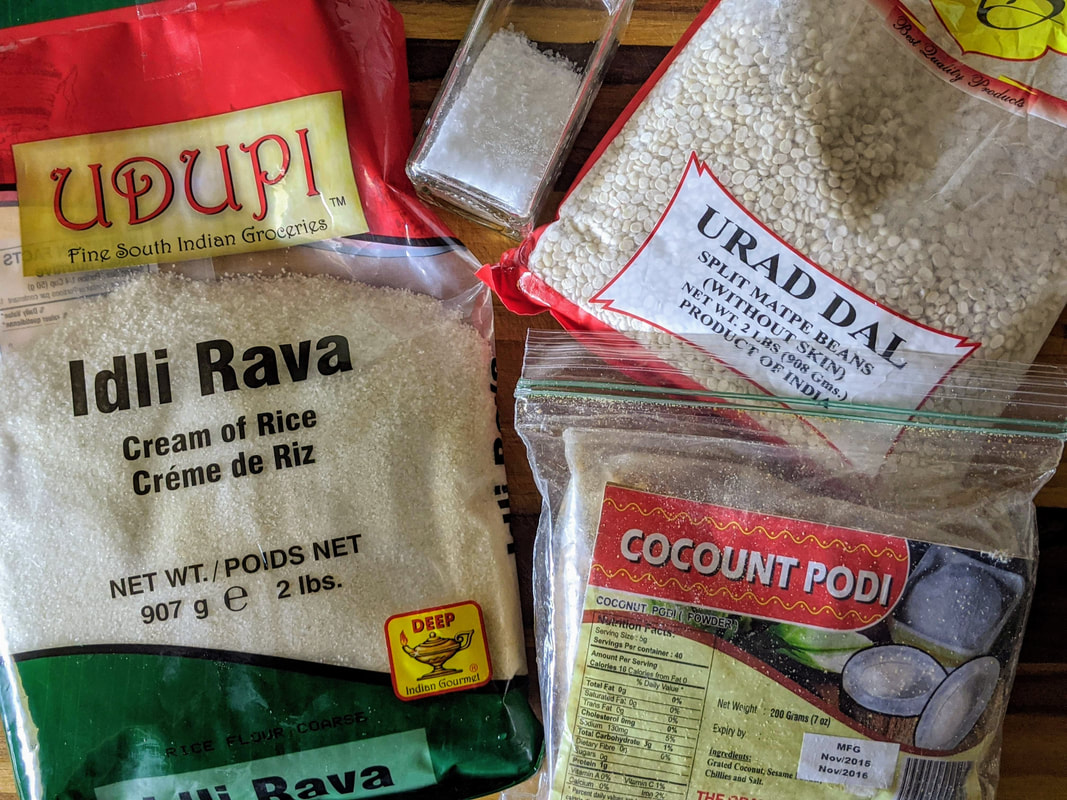 It is important to note that Idli are a fermented food, in the same vein as sourdough, kombucha, or kefir. Therefore it is not something that can be whipped up in an hour. Instead, give yourself 16-24 hours in the summer months, and longer during the winter. The reason for this is that the warmth of the environment has a direct impact on the speed of the fermentation process. 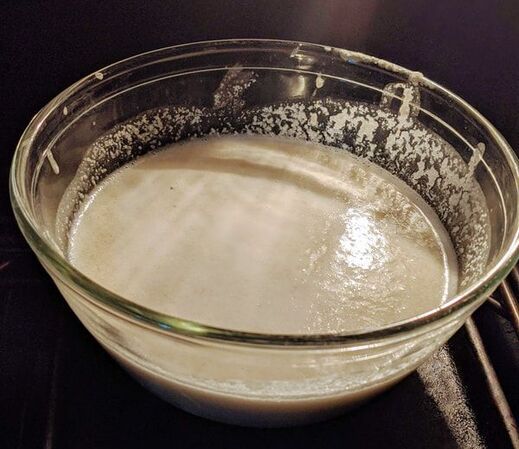 One of the reasons it is so hard to find a recipe for this dish that is straight-forward, is because there is so much waiting time between steps, and specific reasons for how and why things are done. There are no hard and fast rules with regards to timing because often it's about how it looks, smells, and feels. The process is not at all like cooking a box of store-bought mac and cheese. There is a lot of nuance to the dish. For instance, when soaking the rava and dal, they need to be in separate bowls,. Then when they are in the food processor, they again need to be separate. Ingredients
Equipment
preparation
Podi
**Being unable to get the podi ingredients in the past, I have substituted pesto, chimichurri, or other forms of chutneys. Technically a lentil dish called sambar is the accompaniment to idli. 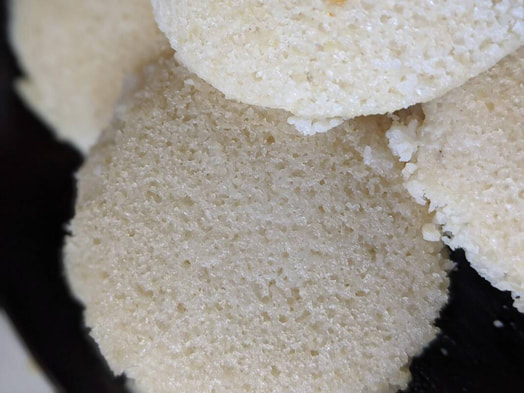
|

Michelle Grubbs: Wife. Stepmom to 3. Student. Tutor and Coach.
AuthorI'm Michelle, and I've got a full plate! As a full-time dietetics student, step-mom, wife, study coach, and tutor in my late 30's, some days I'm barely scraping by. But, no matter what is on my plate, it's always gluten free! Categories
All
Archives
August 2020
|